- Author:
- Pearson
- Subject:
- Geometry
- Material Type:
- Lesson Plan
- Level:
- Middle School
- Grade:
- 7
- Provider:
- Pearson
- Tags:
- License:
- Creative Commons Attribution Non-Commercial
- Language:
- English
- Media Formats:
- Text/HTML
Shape Characteristics

Overview
Students discuss what they know about shapes and their characteristics through a paper-folding activity that results in a parallelogram.
Key Concepts
Quadrilaterals and triangles are classified by their different characteristics; the types of angles and sides define the shapes. While students are familiar with some of the characteristics of these shapes, they begin to explore other aspects of theses figures. Students review what they know about these shapes so far.
Goals and Learning Objectives
- Review characteristics that describe quadrilaterals and triangles.
- Discuss what students know about these shapes.
- Explore other aspects of these shapes.
Think About a Figure
Lesson Guide
Preview and familiarize yourself with the Paper Folding video prior to class. Have a folded parallelogram to show students at the start of the lesson.
ELL: Allow students time to preview academic vocabulary before discussing topics or giving instructions orally. Preview the academic vocabulary—rectangles, parallelograms, quadrilaterals, and triangles. Provide the terms in a visible location or project definitions from a website. You may choose to refer to a previously created chart. Allow all students to use a dictionary. Make sure definitions include a visual representation as well. Begin making an anchor chart that will include all geometry terms that you will discuss in the unit.
Mathematics
Briefly and informally discuss things that students notice. Don't ask any questions or even comment much about the observations. The purpose here is to get students to start thinking about the characteristics of quadrilaterals and triangles, which will be explored in the lesson.
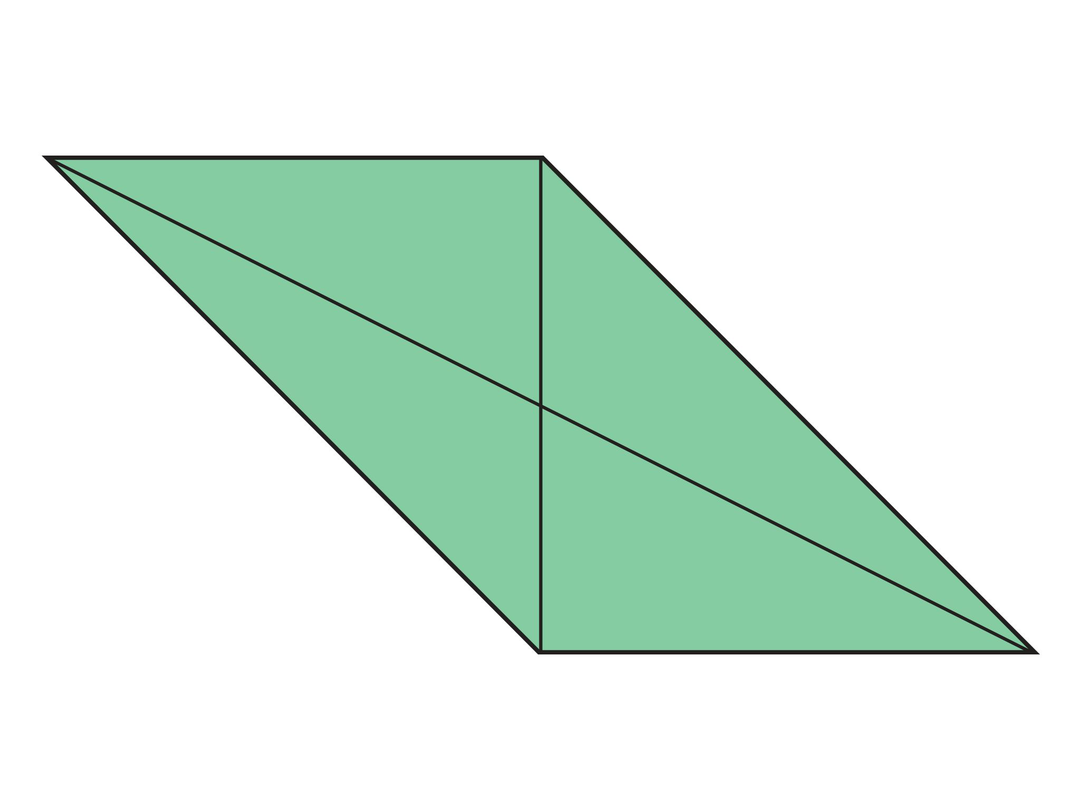
Students may notice:
- The figure looks like a parallelogram.
- There are two similar right isosceles triangles.
Opening
Think About a Figure
What do you know about this figure?
Discuss the following with your classmates.
- Do you think you could make this figure using a sheet of paper?
Math Mission
Lesson Guide
Discuss the Math Mission. Students will fold paper to make shapes and identify the shapes based on their characteristics.
Opening
Fold paper to make shapes, and identify the shapes based on their characteristics.
Make and Identify Shapes
Lesson Guide
Hand out one sheet of 8½ in. x 11 in. paper to each student. As students watch the Paper Folding video and complete each step, look around to check that they are doing the paper folding correctly.
[Note: If you have access to origami paper, it is thinner and will be easier for students to use. Use the largest squares available so that accuracy is less of an issue. If you use origami paper, skip the first step of the video.]
SWD: Students with visual-spatial challenges may struggle to fold the sheet of paper with precision and accuracy. Provide those students with a larger sheet of paper to help them see the shapes that result from their folds.
ELL: When showing the video, be sure that ELLs are following the explanations. Pause the video at key times, to allow ELLs time to process the information. Ask students if they need to watch it a second time. Ask questions to check for understanding.
Mathematics
Lead a discussion about what shapes are shown at each step. Accept student answers and keep the discussion informal. At this point, the purpose is to get students thinking about what they know about these shapes. Ask the following at each step shown in the video:
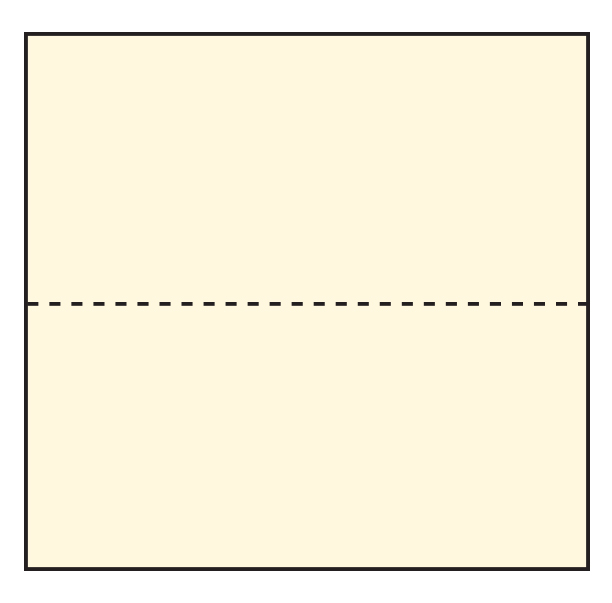
Step 1
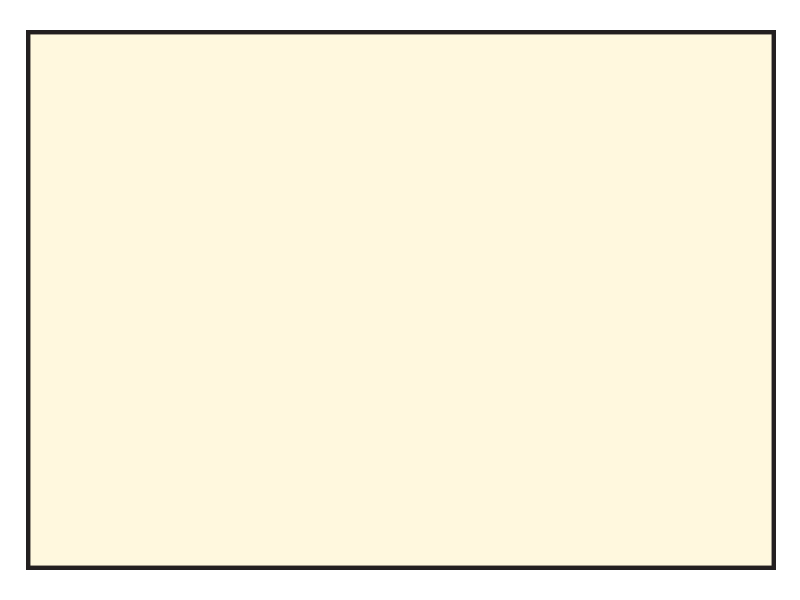
- What shape is this? How do you know?
(Answer: This shape is a parallelogram and a rectangle. The shape has 2 pairs of parallel sides and 4 right angles.)
Step 2
The left side is folded up to meet the top side, and then the right side is folded over to meet the vertical side. Unfold and tear along the vertical line.
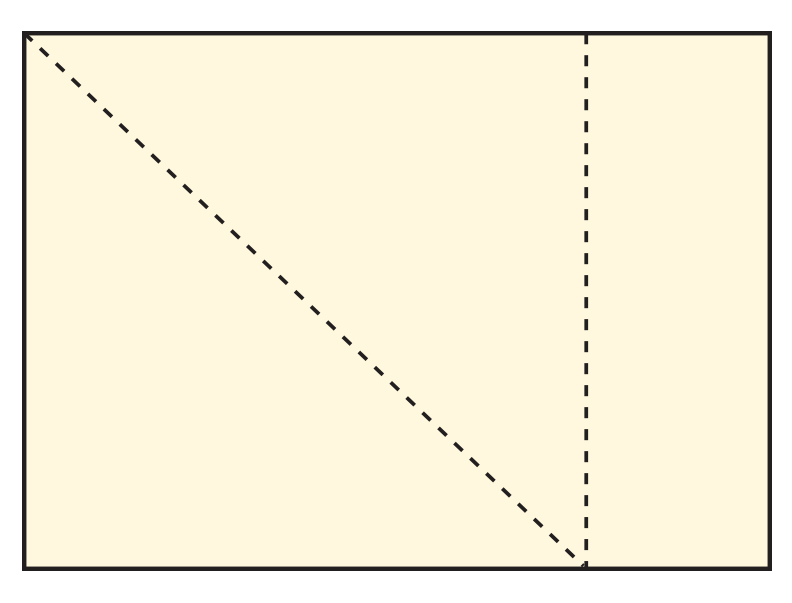
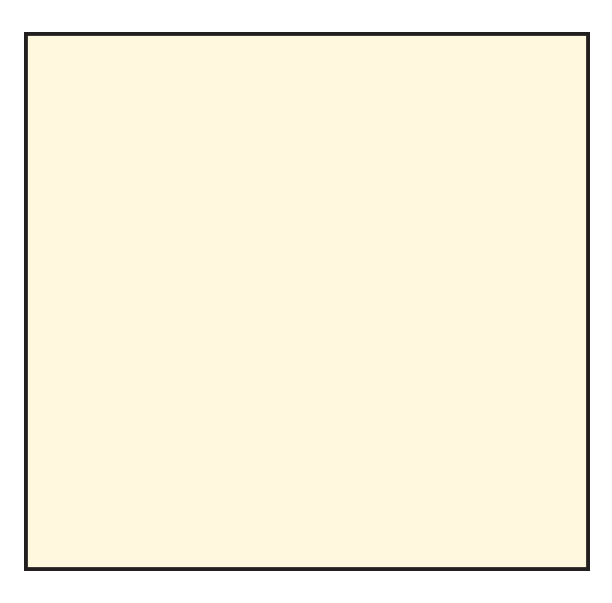
- What shape is this? How do you know?
(Answer: This shape is a square; all sides are equal in length and all angles are right angles.)
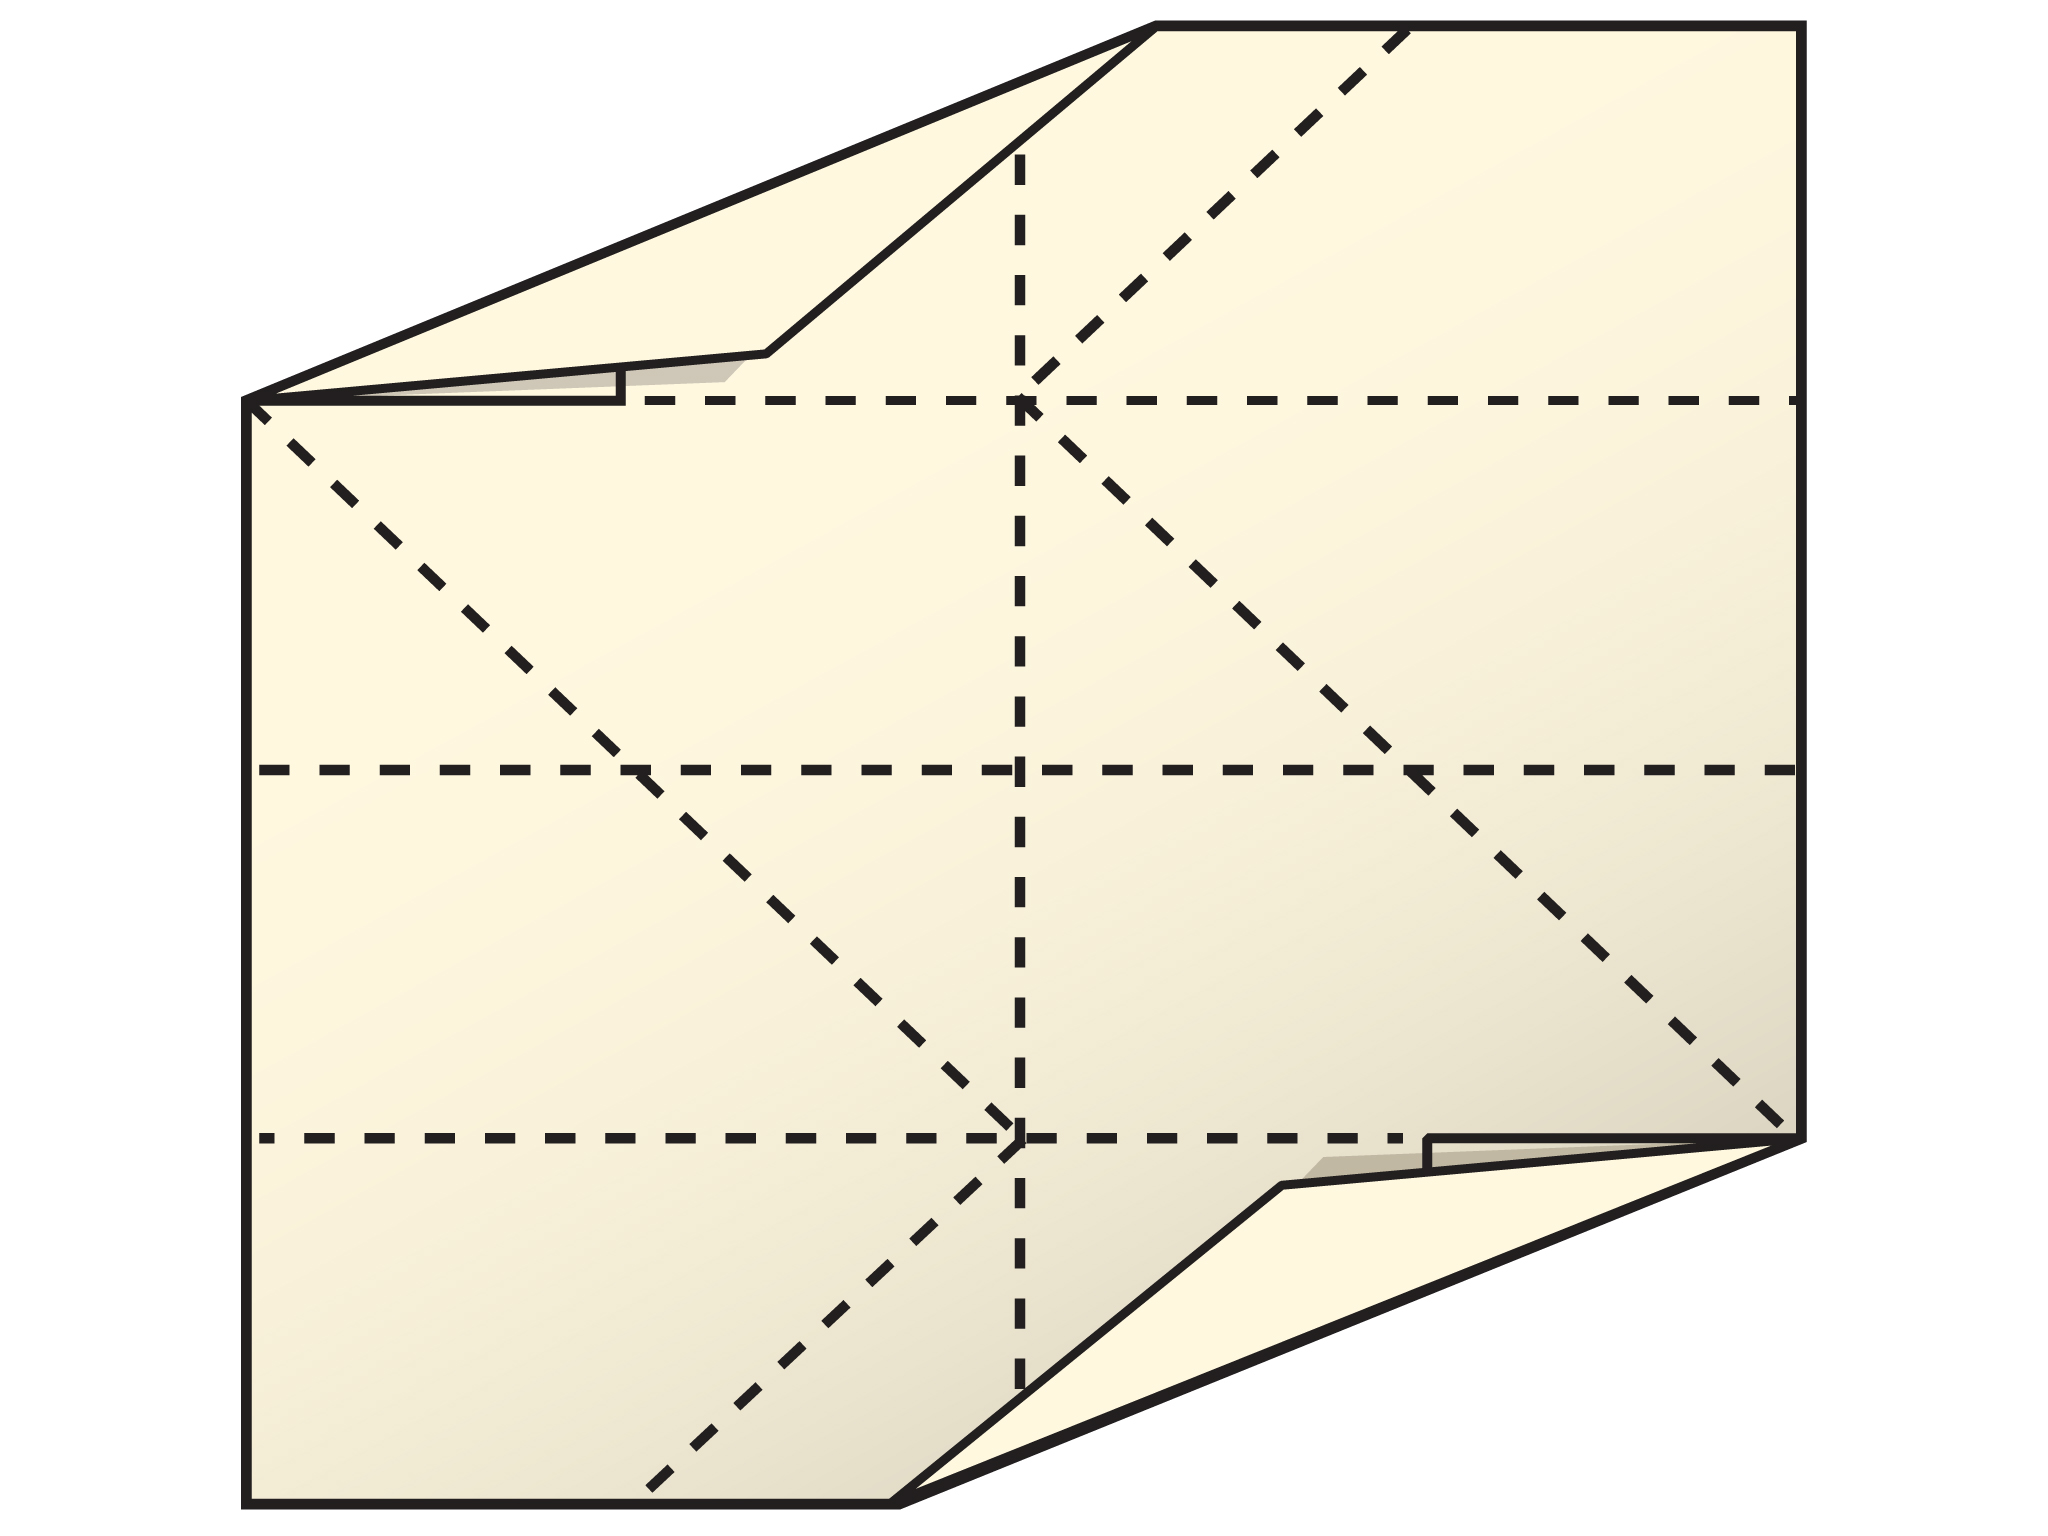
Step 3
The paper is folded in half horizontally and then unfolded. The top and bottom sides are folded to the center line.
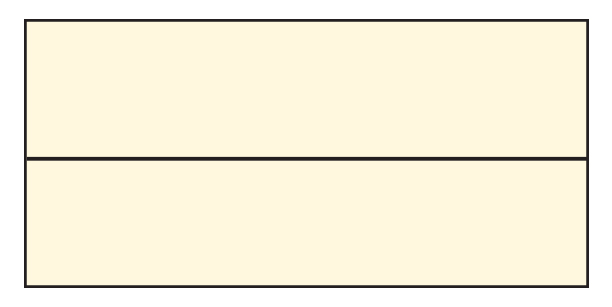
- What shapes were created in these steps?
- What do you know about these shapes?
(Answer: The square is divided into congruent rectangles and the final two rectangles are half the width of these rectangles.)
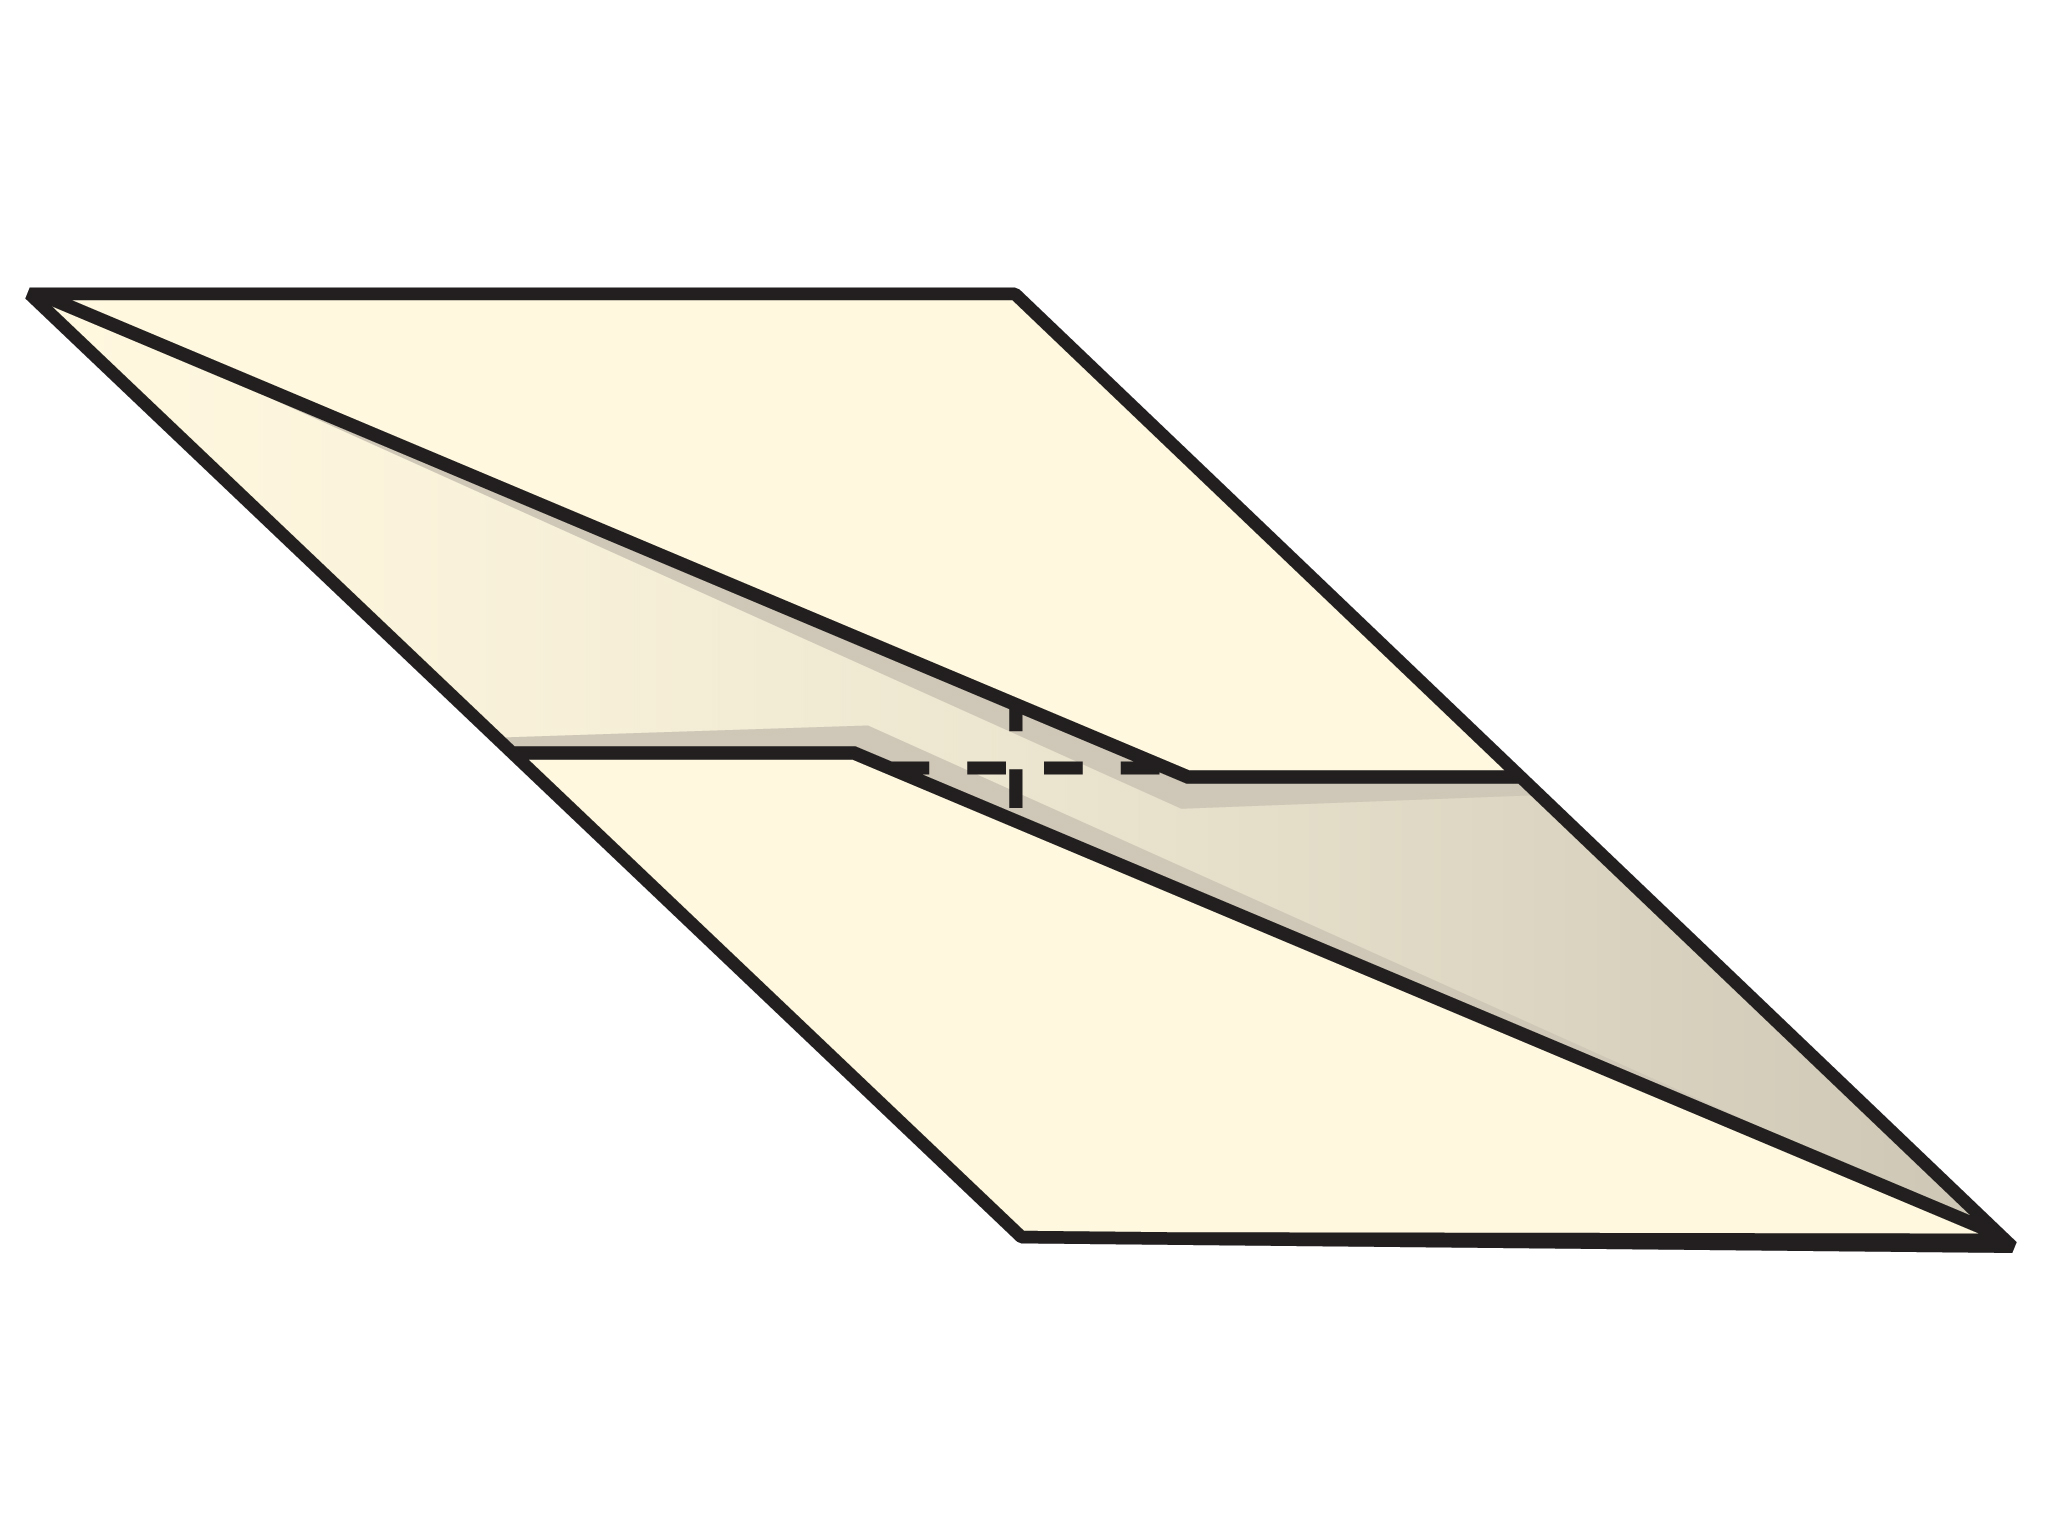
Step 4
Fold the left side up to meet the top side, and fold the right side down to meet the bottom side. Fold along the vertical line and then unfold.
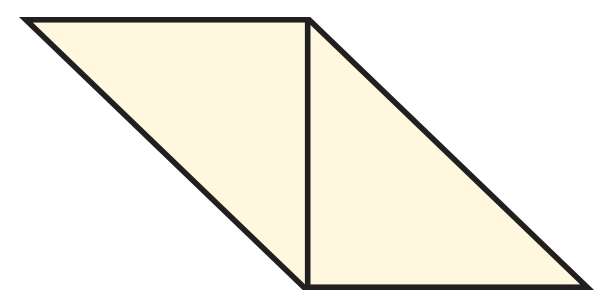
- What shape is this figure?
- How do you know?
(Answer: This is a parallelogram, formed by two congruent right triangles.)
Step 5
Unfold the previous folds.
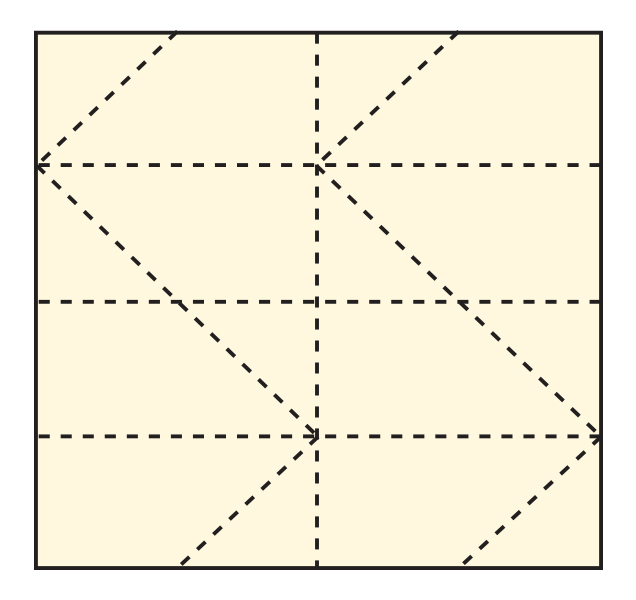
- What shapes do you see?
(Answer: There are several rectangles, parallelograms, trapezoids, right triangles, and similar figures.)
Step 6
Fold the small corner right triangles down.
Then fold that edge along the horizontal quarter folds.
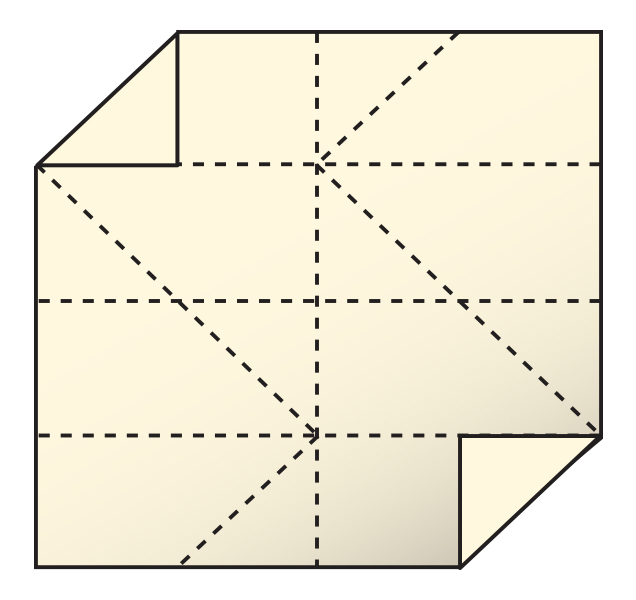
Fold the top and bottom rectangles back to the center line.
- What shapes do you see?
- How do you know?
(Answer: There are a pair of congruent trapezoids as well as a large parallelogram.)
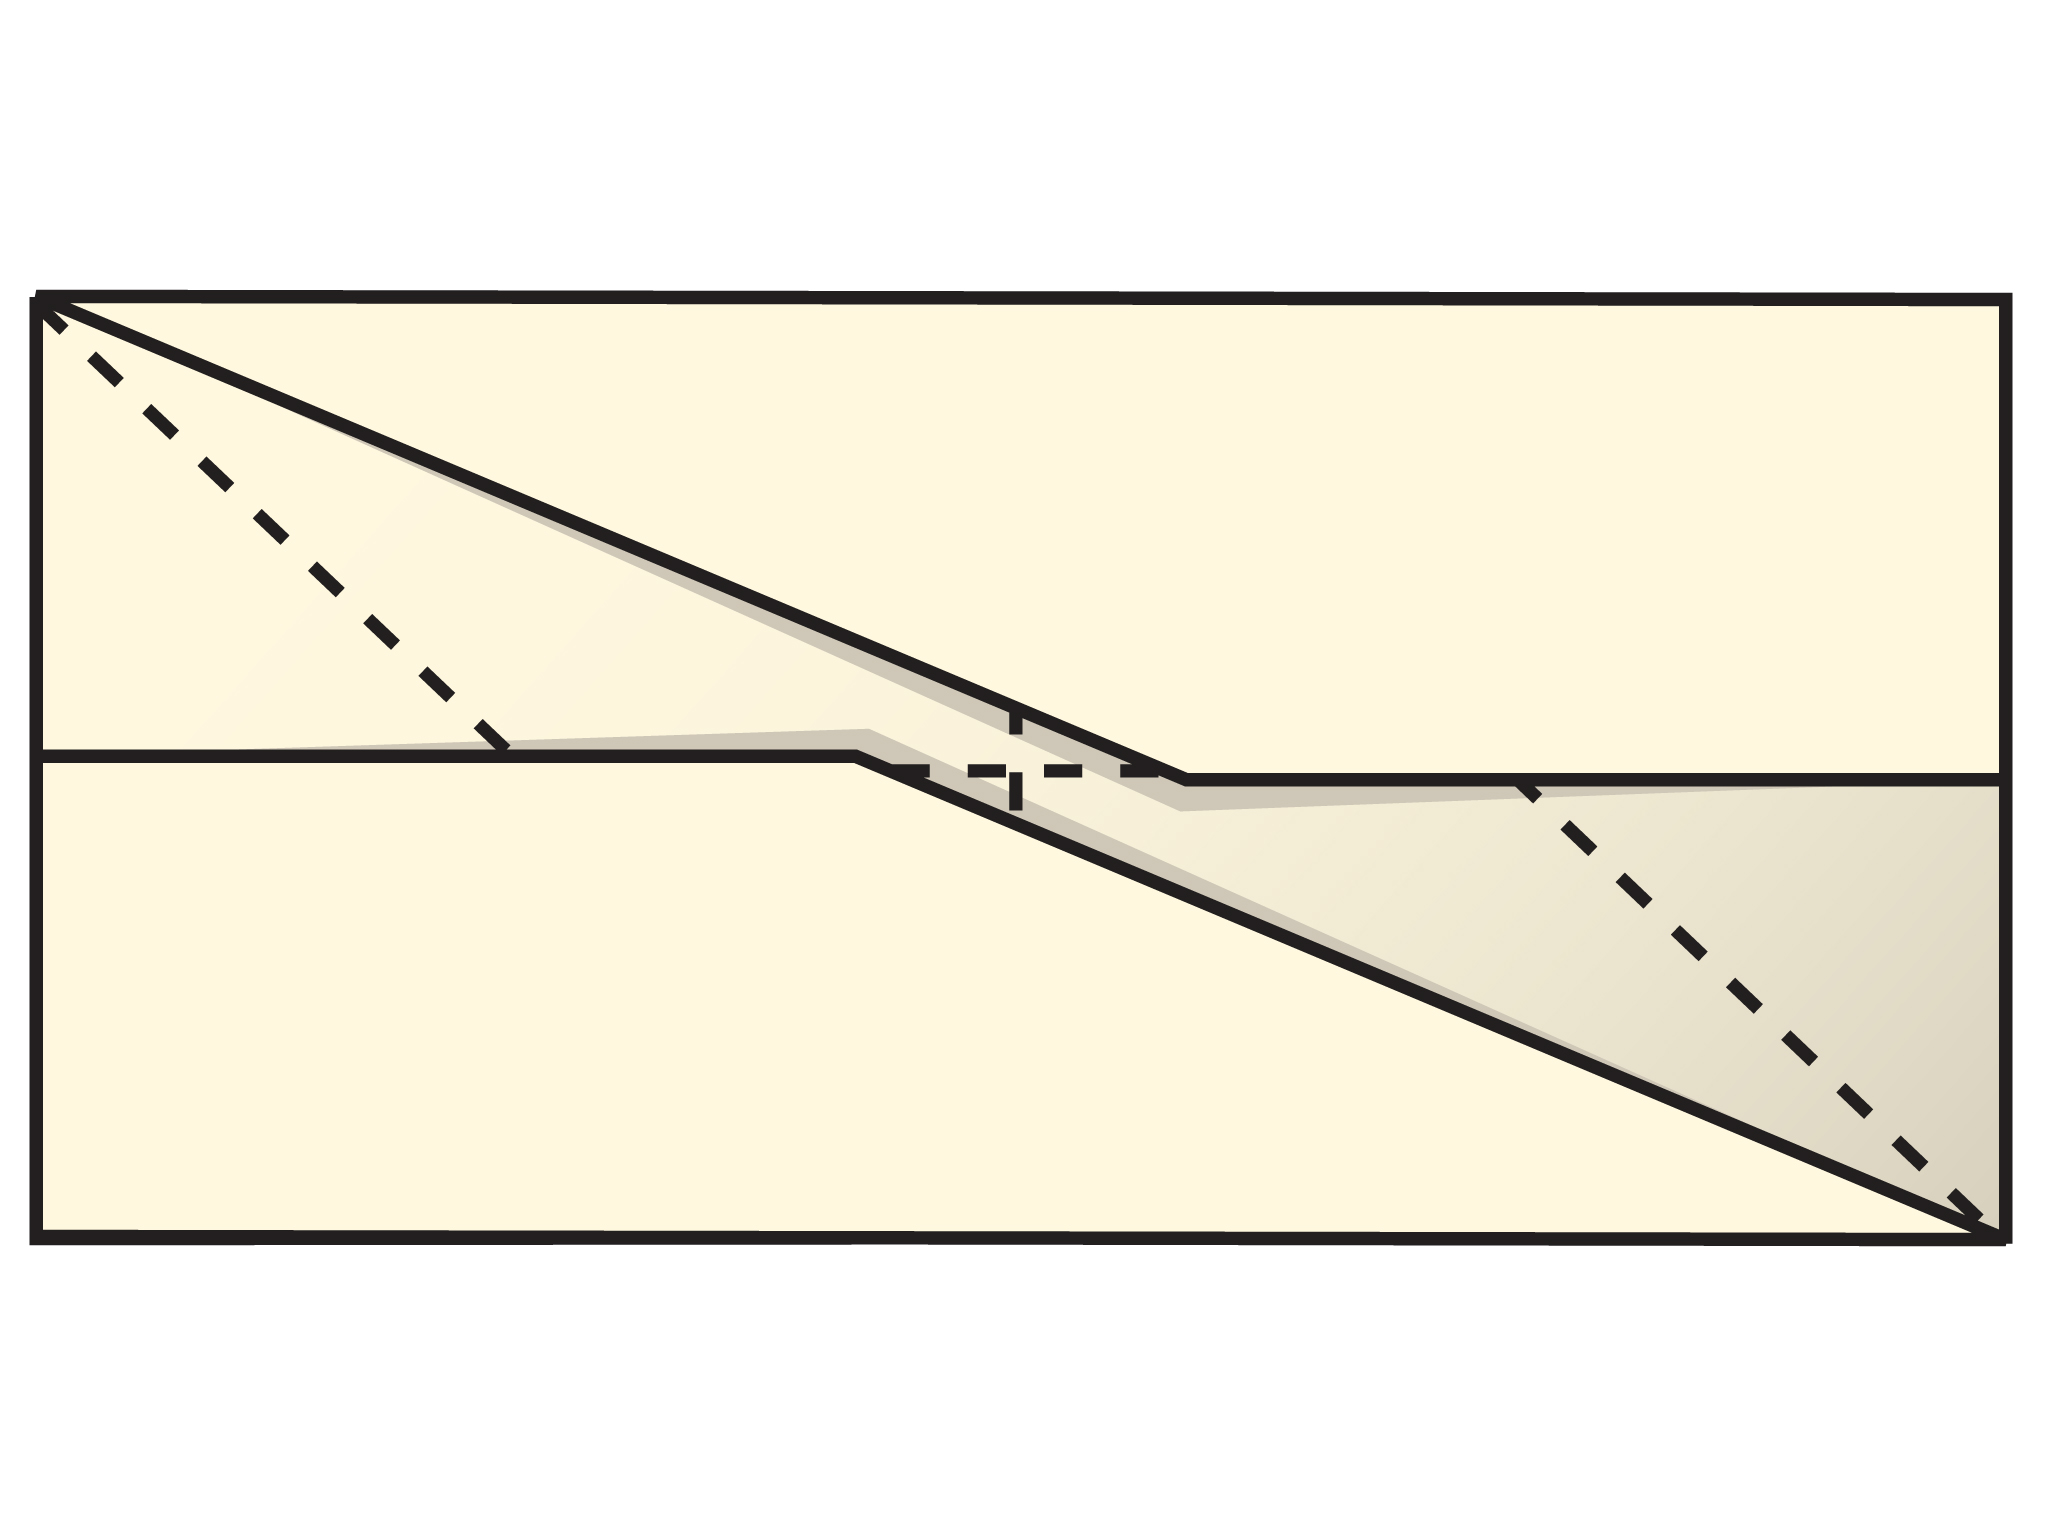
Step 7
Repeat the folds from Step 4, but fold under the trapezoids.
- What shapes do you see?
- How do you know?
(Answer: There are a pair of congruent right triangles, a pair of congruent obtuse triangles, and a large parallelogram.)
Look for students who have difficulty identifying the shapes created by paper folding. Determine if the difficulty is due to finding the paper folding challenging or lack of familiarity with the names of the shapes. You may need to review the properties of the different shapes.
Mathematical Practices
Mathematical Practice 5: Use appropriate tools strategically.
- Look for students who use the paper as a tool to understand the figures. Students may notice that folding at a corner bisects the angle, creating a 45° angle. Students may also notice that congruent sides are created without measuring, but by matching side lengths. Also, folding a side in half establishes the midpoint of the side. These students are showing the ability to use appropriate tools strategically.
Mathematical Practice 6: Attend to precision.
- Watch for students who do not fold accurately; make sure that they understand the effect this has on the final shape. Similarly, other students will understand the importance of accuracy in creating the figure. (It isn't a parallelogram if the opposite sides don't end up congruent or the angles that result from folding are not congruent.)
Mathematical Practice 8: Look for and express regularity in repeated reasoning.
- Notice students that can generalize about certain shapes (for instance, there are several rectangles) and see the common characteristics, despite their different appearance. These students will also see the commonalities between types of parallelograms (for example, a square is a rectangle).
Interventions
Student has difficulty following the steps.
- Where does the fold start?
- Which corner or side is being moved?
Student has difficulty folding accurately.
- Bring the corner or side to the correct location, and then push back toward the fold to crease the paper.
- When folding on a previous fold, keep the paper under tucked in.
Answers
- Students should see the following shapes: rectangle, square, right triangle, parallelogram, and trapezoid. Students might notice pairs of congruent and/or parallel sides, 90° angles, or the number of sides for identifying shapes.
- Answers will vary.
- Students should organize their observations based on the shapes they noticed.
Work Time
Make and Identify Shapes
Follow the steps in the video.
- Identify each of the shapes you made. How did you make your identification?
- What do the shapes have in common?
- Be prepared to discuss your ideas.
VIDEO: Paper Folding
Hint:
What do you know about the sides and angles of different types of quadrilaterals and triangles?
Make Connections
Mathematics
Facilitate the discussion to help students understand the mathematics of the lesson informally. Ask questions such as the following:
- What shapes did you see?
- What characteristics about the shapes define them?
- What do these shapes have in common?
- There was no measuring in the lesson, yet many figures were congruent. How did the paper folding cause this?
SWD: Some students may need additional time to process prompting questions. Provide students with a written version of the question(s) so they can refer to them as a resource.
Performance Task
Ways of Thinking: Make Connections
Take notes about your classmates’ work on the paper folding activity.
Hint:
As your classmates present, ask questions such as:
- Where does the fold start?
- Which corner or side is being moved?
- What shapes did you see?
- What characteristics of shapes can you look for to help you identify a shape?
- What do these shapes have in common?
Reflect On Your Work
Lesson Guide
Have each student write a brief reflection before the end of class. Review the reflections to find out where students have seen paper folding outside of class.
Work Time
Reflection
Write a reflection about the ideas discussed in class today. Use the sentence starter below if you find it to be helpful.
Other situations outside of the classroom in which I have seen paper folding are …